Menu
Inspired by Ernest Cox
I also made a report (in Portuguese). Should you like to read it, please follow this link.
As some of you know, my journey towards the war games began by modeling, still I was a beardless young man.
Today I am no longer beardless but I’m still young! For this reason, the modeling "thing" is always there, and when I have the chance to return to the cutting, sanding and modeling clay, I grab the opportunity with tooth and nail.
Recently arrived into my hands were these models tanks whose fate, were not for my “kindness” in “adopting” them, would probably be disastrous. The models, quite reasonable in nature, were not in the best conditions: the assembly had not been the right one, it lacked some details, and of course had to be painted.
Churchill VII Crocodile
The Churchill tank is the result of somewhat anachronistic conceptions of the British tank designers, which separated the tanks in three classes: Light Tanks, which were mild in everything except speed; Fast or Cruiser Tanks, designed to be (presumably) fast and pierce the enemy lines, and the slow and heavily armored Infantry Tanks, design to support the infantry. The Infantry Tank Mk IV Churchill was the culmination of this line of thought, making it one of the best protected tanks of the Allied forces.
Since I already had two models of the Guards Armoured Division’s Shermantanks, I thought to rebuild and paint the Churchills as used by the 6th Guards Tank Brigade, the unit that operated more or less at the same places as his "soul mate."
The model I bought was the Churchill Crocodile, a flamethrower vehicle that was the terror of all enemies who happen to be in the way. Well, so far so good. The problem with this particular model is that it was based on the Churchill VII, a late version easily identifiable by the shape of the turret and the round side hatches on the sponsoons, a model which was rare in the 6th Guards Tank Brigade since that unit mostly had Churchills III , IV and V CS only.
The option was to choose another unit ... and it so happened that I put my eyes on an interview given by Ernest Edward Cox, a veteran of the "A" squad of the 141th Royal Armoured Corps who, as driver of the "Stallion", a beautiful Churchill VII Crocodile, closely followed "the tracks" of Guard units to which sometimes was added.

It happens that I had a list in which there were already identified one of the cars of that squadron, the "Steed", and that list was missing a second vehicle ... that was the "Stallion"!
There! The unit was chosen! The third tank that was left would be the "Sandwich", the regimental command tank.
Then I went to work on the Churchill.
The model presented two problems:
The Churchill Mk VII’s turret had a very distinctive shape, which oscillated between rectilinear and curvilinear of the Mkl III and Mk IV types. Furthermore, the Mk VII had a slope at its base towards the outside in order to avoid "shot traps", but unfortunately this slope wasn’t moulded in this Airfix model. I had to correct this flaw using Miliput and a good sanding. I took advantage and worked the hatches, which were badly glued, and even added a pair of "humps" on the frontal plates in two of the tanks’ towers, a detail sported by some of these vehicles (but not all).
I also didn’t like the “cast” look of steel cables placed in the sponsoons, so I had to cut them and replace with others made with electrical wire with rings made of wire and tin. The cables came out good but the rings, not so ...
Moreover, I liked the look of the hull which had only a few minor inaccuracies easily surmountable.
The main problem of this Churchill was, obviously, in the assembly, specifically the assembly of the hatches, the wheelset and suspensions, which requires a lot of precision and patience to assemble. The wheels of these models were totally misaligned, in short, in dire need of much work to be done. Nothing that a good pair of pliers couldn’t solve!
As for the hatches, I had to reassemble them all, because they were badly glued. I opting to let the drivers’ closed (except in the "Stallion") and open the commanders’ (except in one of the tanks). It was a delicate job that ultimately bore fruit.
In addition to the tanks, I also had to watch the trailer that carried the fuel tank, as they had excess of glue everywhere and the flash molds were not properly treated. What I did in the trailer was basically a cleanup operation, removing everything that was in excess and using Miliput to cover some flaws here and there.
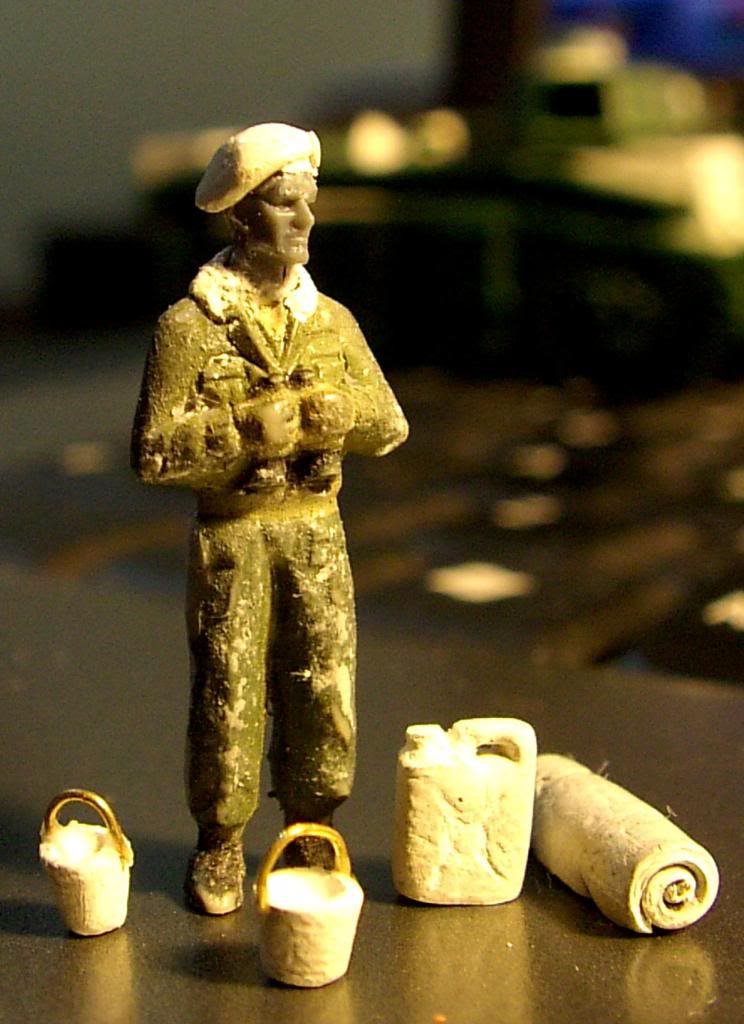
With the models ready to go, I worked with the overload boxes, cloths and other paraphernalia, in short, everything that the tanks used to carry "on their backs" when in action, all done using spare parts, Miliput , wrapped Kleenex, in short, the basic modeler’s tricks. On the Stallion’s turret I put a simple khaki cloth (painted with Khaki and English Uniform colors) and a spare shovel with case I had left from a Zvezda figure. For the Steed I opted to put in a little more color in the form of two campaign "souvenirs ": a Turkish rug "liberated " from a French house, and a pair of boots" liberated" from a Fallschirmjäger (Orion box). These accessories were left aside to be added later.
In addition, I reused a Tamiya tank commander, with an acceptable body but an inconceivable head, and a Plastic Soldier Company ‘s pair of heads, one of which was put in the Tamiya body and the other, after being well-crafted (i.e., rounded ), eventually was embedded in the body of a tank’s driver, done with Miliput, which went directly into the Stallion, ie ... I did Ernest E. Cox, which will always give a little more "color" to the model!
For the painting, I based myself, as always, in the photos of scale models one can see on the net, and on the sound advices of Artur Ramos who is, in my opinion, is the best modeler of the AJSP and one of the best I know (and I know a few good ones!).
After giving a primer with #1 Humbrol, I did a "crescendo" of colors, starting with Vallejo’s USA Olive Drab (889) to paint the darker parts of the model, then adding some 50% Russian Uniform ( 924) for the intermediate portions and ending with "pure" Russian Uniform for the most exposed areas. As my airbrush does not allow me to draw thin lines or makes details, I contented myself with exercise my maximum ability with what I had on hand, painting the best I could.
After applying the "base", I threw myself into the dry brushing technique using a mixture of Russian Uniform with Khaki and Cream. By being "gradual", or by relying on the application in layers of fine particles of paint, the dry brush technique is long and tedious, but the results are excellent.
To enhance the model surface, I mixed Black with the Russian Uniform and using my finest Windsor & Newton Series 7, I used this darker tone in the recesses of the car.
After a small mishap regarding Sandwichand a child 16 months old (that’s life!), I resumed work.
After searching in vain for decals for the 141th Royal Armoured Corps, I had to content myself to use the old method of a firm hand and a brush. First, to assist the paint job, I draw, with thin pencil, the tactical marks of the vehicles (rectangle with the number 993 for the 141th Royal Armoured Corps; two “hourglass shaped” triangles for the 31st Tank Brigade; and triangles and diamond for the "A-Team" tanks (Stallion and Steed) and Regimental Command (Sandwich).
Then it was just paint job! Intense Blue (925) mixed with White triangles and diamond, and a mixture of Dark Olive Green (963) with other types of greens to regimental and brigade badges. The tonnage symbol followed the same method.
I painted the tracks with metallic color (Smoke, Black and Silver), and then decided to give the vehicle a touch of rust, since rust was a common thing when tanks are under constant use and subject to all kinds of wear and aggression.
For rust, I used various mixtures and shades with the following colors: Brown Flat (984), Smoke, Light Brown (929), Scarlet (817) and Black. The rust was abundantly applied to the exhaust outlet behind the turret, the tracks and in the steel cables and some of the bolts in the hull, and I still painted some thin and discrete vertical lines on the vehicles’ armor plates so to simulate small rust spots. The result was satisfactory.

Toward the end, I tried to simulate the effect of dirt and mud that accumulated in these tanks. Basically, mixed Das Pronto (terracotta color) with the sawdust that I use to flock the bases of my figures, plus Vallejo Smoke color in order to cut the strong reddish hue of Das Pronto. Then, using my fingers or a brush, I applied the mixture on the hull, wheels and tracks of the tanks, the trailers and their wheels. On a side opening of the tanks’ sponsoons, I added a accumulation of mud and straws that I’ve seen in contemporary pictures.
Finally, with Vallejo Burnt Shadow (73110) pigment, I simulated the dust that accumulates on the vehicles over the several months of operations, and with a little bit of Silver paint, I stressed areas of the tracks that directly in contact with the ground.
The models were thus basically completed, which was a good exercise in modeling, and in triplicate (!), specially for someone who hadn’t done anything of the sort since a long ago.